Fruity Loops FL Studio 6
Detailed Review
February 2006
 click to enlarge
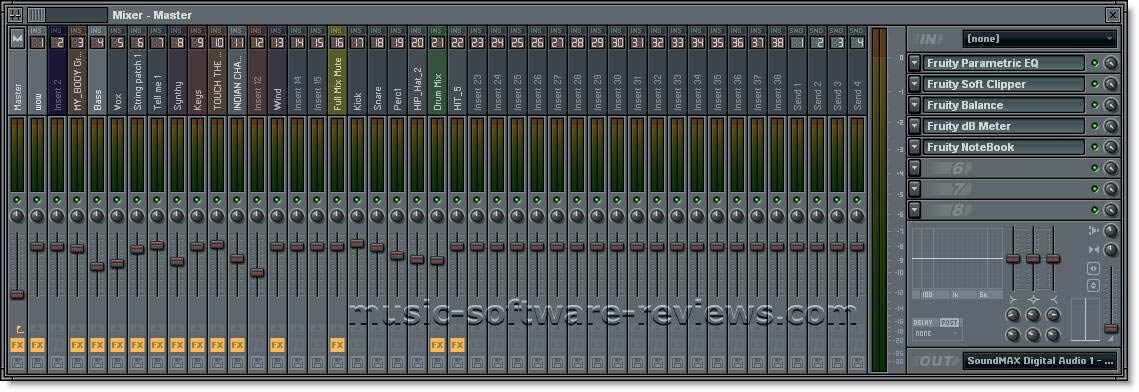
The new
Fruity Loops FL Studio 6 competes with the big,
established recording packages
The developers of Image-Line software were quite busy. It is obvious that they
don't want to stop at having programmed the most popular software for Hip
Hop and Dance music on the Internet.
They now seem to go for the top of music production software. You actually can
do almost anything now with FL Studio 6, but just a little different
than with other programs.
Of course it's not as easy to handle than at it's beginning. If you want
to use all of its functions, it takes quite a while and some
persistence to learn this now pretty complex program.
The main difference, what sets it apart
from other recording programs, is the unique structure. It is the ideal
sequencer/recording program for all the people that liked the old
pattern oriented sequencers, like "Notator" on the Atari.
Nobody has ever written a program for them
after the boom of tape oriented software like Cubase started. With this programs you could easily build
up a song structure while adapting it or changing it in detail was
tedious work.
If you want, you can work strictly
pattern oriented like in the old days, but with a lot of
additional power.
But Fl Studio 6 brings you the best of both
worlds. It is definitely the program for those who want to mix a pattern
style with a straight tape-like approach.
If you are strictly tape oriented with no
ambitions however to use patterns, there are programs that make it
easier for you just because of it's basic structure.
This software became so complex and it has
so many features that I decided to write a more detailed review this
time.
Now enough rambling, let's start with
facts.
Hardware - FL Studio 6
Supports Asio and Direct-Sound drivers.
That means, you can either buy a soundcard with Asio drivers or use your
built in card.
When you use a standard sound card, it is
highly recommended that you download the Asio4all-driver at
http://www.asio4all.com/. It lets
you use the inputs for recording and gives you much lower latency.
If you want to record audio, you actually
have to use Asio drivers.
Multiple in and outputs of soundcards are
of course supported by FL studio 6.
Installation - FL Studio 6
Although
there is also a boxed version in
the shops that delivers a printed Getting Started manual, as a bonus the
Dreamstation DX Instrument and a CD-ROM sample library containing over
3000 royalty-free samples and 300-plus loops, FL Studio 6 is mainly
downloaded from the Internet.
This is somehow
typical for this software, because it
seemed to grow up with the Internet. The world
wide web made the software
popular and wildly successful.
The company, Image Line, decided to make
the original download only 46 MByte big. This contains a variety of
instruments, samples, presets and some really cool demo projects.
If you need additional food for FL Studio
6, you can download that from their homepage.
Installation is a short and painless
action with not much to say about it. After that, you start with
the Audio Setup.
Audio Setup
- FL Studio 6
 click
to
enlarge
click
to
enlarge
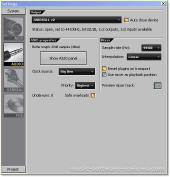
On purpose I decided to try FL Studio
first on a standard laptop with no additional hardware or drivers.
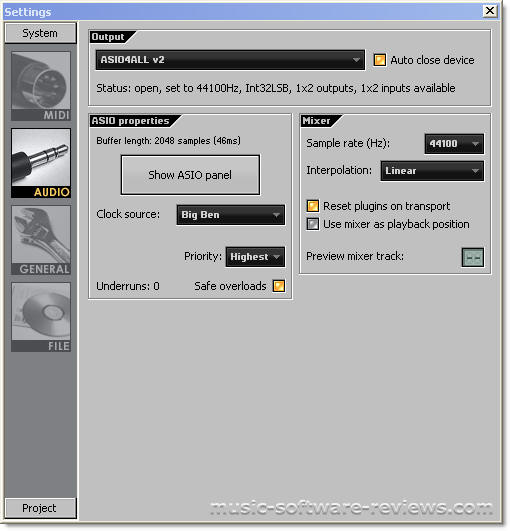
First thing I had to do is adjusting the
buffer length in order to listen to the great examples that come with FL
Studio. With the default setting there were too many buffer underruns
and it sounded horrible.
I had to choose a pretty high setting
(around 10.000 samples =225ms) to get it working. With this setting
however, you have quite some latency and the VU meters of the program do
not correspond anymore with the actual sound you hear.
To avoid that, Fruity Loops recommends to
download an Asio driver from
http://www.asio4all.com/. This is a small driver (around 300kb) that
lets you access the built in soundcard as an Asio device.
I did as recommended and it worked great.
With that driver I could play the default
demonstration song with a buffer length of 225 samples which is only
about 5 milliseconds compared to the 10.000 samples, 225 ms of the
standard direct out drivers.
Beside that, it lets you also use the
stereo inputs of your laptop for recording.
The other options are not as important and
it's recommended to play around with them if you want to tweak your
audio setup for maximum performance. I didn't notice any big differences
however, so it's up to you if you devote time to it or not.
Next, If you want to use MIDI, you
continue with the MIDI Setup.
MIDI Setup
- FL Studio 6
 click
to
enlarge click
to
enlarge
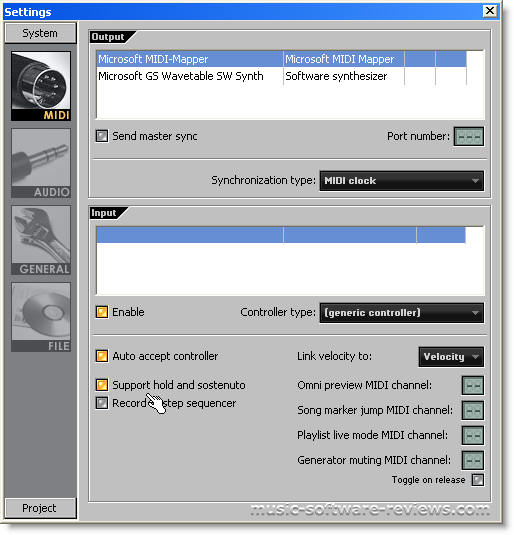
In the MIDI Setup you have some options.
Output Mapping. That means that you
connect the midi outputs of FL Studio 6 to internal or external MIDI
devices.
Send Master Sync. You can send
either MIDI Time
code or MIDI clock
to the outputs above.
Enabling Inputs. You can enable or
disable inputs of your MIDI interface.
Velocity mapping. The velocity
value of Note-Ons from the MIDI input can be linked either to nothing,
velocity, filter cutoff or filter resonance. So you can play with the
filter of a synthesizer sound just by hitting the keys harder or softer.
Hold and sostenuto pedal. FL Studio
will use foot-pedal messages to sustain currently held notes on a MIDI
keyboard. You can toggle between supporting or ignoring hold and
sostenuto messages.
Record to Step Sequencer.
Normally all notes recorded from your MIDI keyboard are recorded into
the Piano Roll. If this button is checked, all recorded notes from your
MIDI keyboard will be put in the Step Sequencer, not in the Piano Roll.
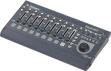
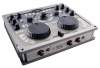
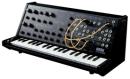
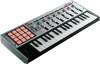
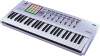
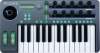
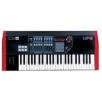
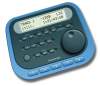
Supports controllers. This is a
very nice feature of FL Studio. For the ultimate convenience you can get
yourself a hardware controller. Which one depends mainly of the way you
make music.
The variety of controllers grew
significantly over the last years. From keyboard players and synth freaks to sound engineers and DJs, everybody gets something to grab.
If you want to work seriously and
frequently with this software, think about getting a hardware
controller. Once you have mastered this new way to produce, recording
becomes a lot easier and faster.
If you click at the
eBay link to the right of each controller
it lets you easily check if this item is currently available on eBay.
If you click at
zZounds,
you come to an online store that offers this item. You usually also get
a detailed description there if you want to find out more about a
controller.
That means, you don't have to configure
this devices. Just plug them in and they have the most important
functions preconfigured. Of course FL Studio 6 also supports a generic MIDI
controller.
There are also functions for more
specialized tasks that you might never use.
Omni Preview MIDI channel.
Lets you set a channel on your MIDI keyboard, where each keyboard key
previews one of the channels in the Step Sequencer.
Playlist Live Mode MIDI Channel.
Sets a channel on your MIDI keyboard, where each keyboard key turns
on/off one of the patterns in the Playlist window, if this is switched
to live mode.
Song marker jump MIDI channel.
Set the midi channel to be used to accept MIDI note data to control
Playlist Time Marker jumping. The white keys let you directly jump to
the markers while the black keys let you select and deselect regions,
add markers etc... -
Playlist live mode MIDI channel.
Set the MIDI channel to be used to accept MIDI note data to control
Playlist Time Marker jumping as indicated above.
-
Generator muting MIDI channel.
Allows setting of a channel on your MIDI keyboard, where each
keyboard key mutes/unmutes one of the channels in the Step Sequencer.
-
Toggle on Release. When
turned on, instead of switching back to the previous state after a
second press (in the muting and live mode channels), the state will
switch back whenever the key is released.
Basic Structure - FL Studio 6
The Basic structure of Fruity Loops FL
Studio 6 is different than of other recording programs.
Besides linear tracks for recording audio
you have a special kind of pattern sequencer, that you have to understand
before you can work with this software effectively.
First, I try to describe the structure
from overview to detail starting with the big picture.
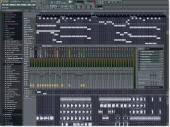
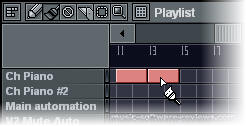
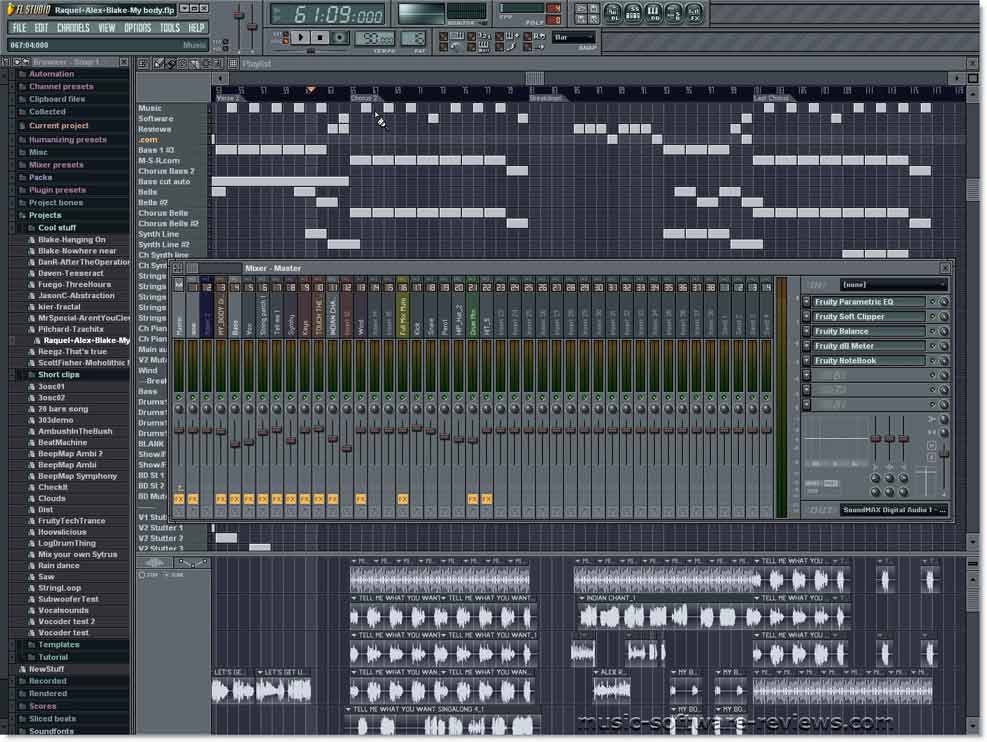
The main window, called "Playlist", is
divided into an upper and a lower half. The lower part contains the
linear audio tracks, while the upper part contains all the patterns you
created before.
One line in this upper
window doesn't represent a common track that records one instrument as
you would expect, but a track playing a whole pattern with all the
recorded instruments in that pattern.
By painting colored
rectangles into this line you determine when this pattern plays. Left
click paints, right click erases, that's very fast.
A pattern of FL Studio
6 can be as
simple or as complex as you like. If it plays only one instrument, it is
more like a conventional track, if it plays lots of instruments, it
behaves more like a pattern.
Every pattern contains
all the instruments of a song but only the playing data of this pattern.
Every instrument uses
one "channel". A channel routes a stereo signal either from a sample or
one of the instruments to the master-track. Per default it is not routed
to one of the mixer tracks as one would expect, but directly to the
master-track.

All instruments or
sampler are therefore stereo. Because of this concept, no
multi-outputs from one instrument are possible.
But you can use many
instances of a sampler or an instrument in other channels so you can
easily build multiple outputs with the same instruments.
So, the audio routing
in FL Studio 6 is very simple:
Channel (instrument or
sample)
 Master, or Master, or
Channel
Mixer
Channel
Master
You can of course make it more complex by routing it from one mixer
channel to another and so forth to create sub-groups like on a regular
mixer with sub-groups.
The MIDI or other
playing information is stored in patterns. A pattern can be as long as
needed but per default it's one bar.

If you didn't
understand this explanation of the basic structure of FL Studio 6, I will try
to explain it now the other way around,
starting with the smallest building blocks:
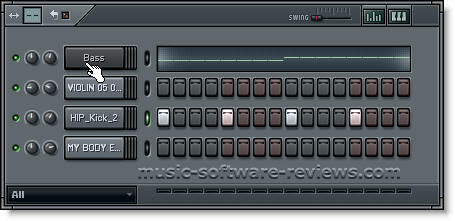
The smallest unit in FL
Studio 6 is a channel.
A channel is stereo and
can be filled with any kind of sound generator like samples, sampler,
loops, scratching unit or instruments.
The stereo-signals of
channels are mixed per default directly to the master track. That means
you do not necessarily need the mixer channels in FL Studio 6.
You can also route a
"channel" to a mixer channel for equalization or adding effects.
Now you have setup
your orchestra. But in order to let it play, you have to
record some playing information.
This is recorded into
patterns.
(You can make
patterns as long as you want. That means, theoretically, you could use
just one pattern to record your complete song even if this would not be
very handy)
In a pattern you have
all the channels you filled with sound generators above at your
disposal.
You can let them play,
either by pushing buttons of the step sequencer,

or by playing with a
MIDI Keyboard or a computer keyboard and recording it to the
Piano Roll.

After having recorded
your patterns, you can use them as building blocks to create your
song
structure.
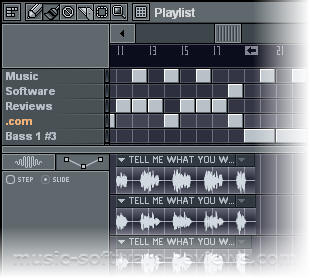
You do that in the Playlist.
In the Playlist you can
paint your song by arranging your patterns. Left Mouse click paints
them, right click erases. Very handy and fast.
Every line of the
Playlist contains a different pattern.
A song can be built
from a mixture of repeating patterns and recorded tracks.
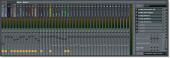
You can route the
instrument channels of the patterns and the audio of the tracks to the
mixer where you can add equalization and effects.
 click
to
enlarge
click
to
enlarge
You can render the output of the Master
channel to disk. You do this in the File menu with the Export
function.
You get a very handy Dialog-Box
that lets you choose from a variety of options.
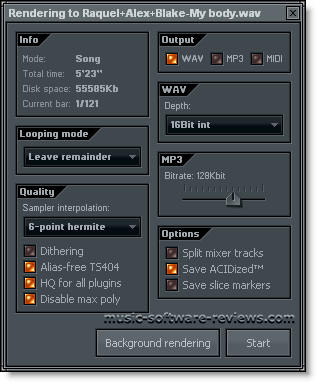
As you see you can save your song in WAV
or mp3 format and your MIDI information to a MIDI file. If you check all options,
you get very high quality but rendering may take a bit longer.
If you check the option split mixer
tracks, you can also save all mixer channels
as single sound files. This makes it easy to exchange songs to another
recording program or to mix
projects in another studio.
Continue with a ruthless review of the
Instruments of FL Studio 6
click here
|


 check
check
 check
check
 check
check
 check
check
 check
check
 check
check
 check
check
 check
check
 check
check